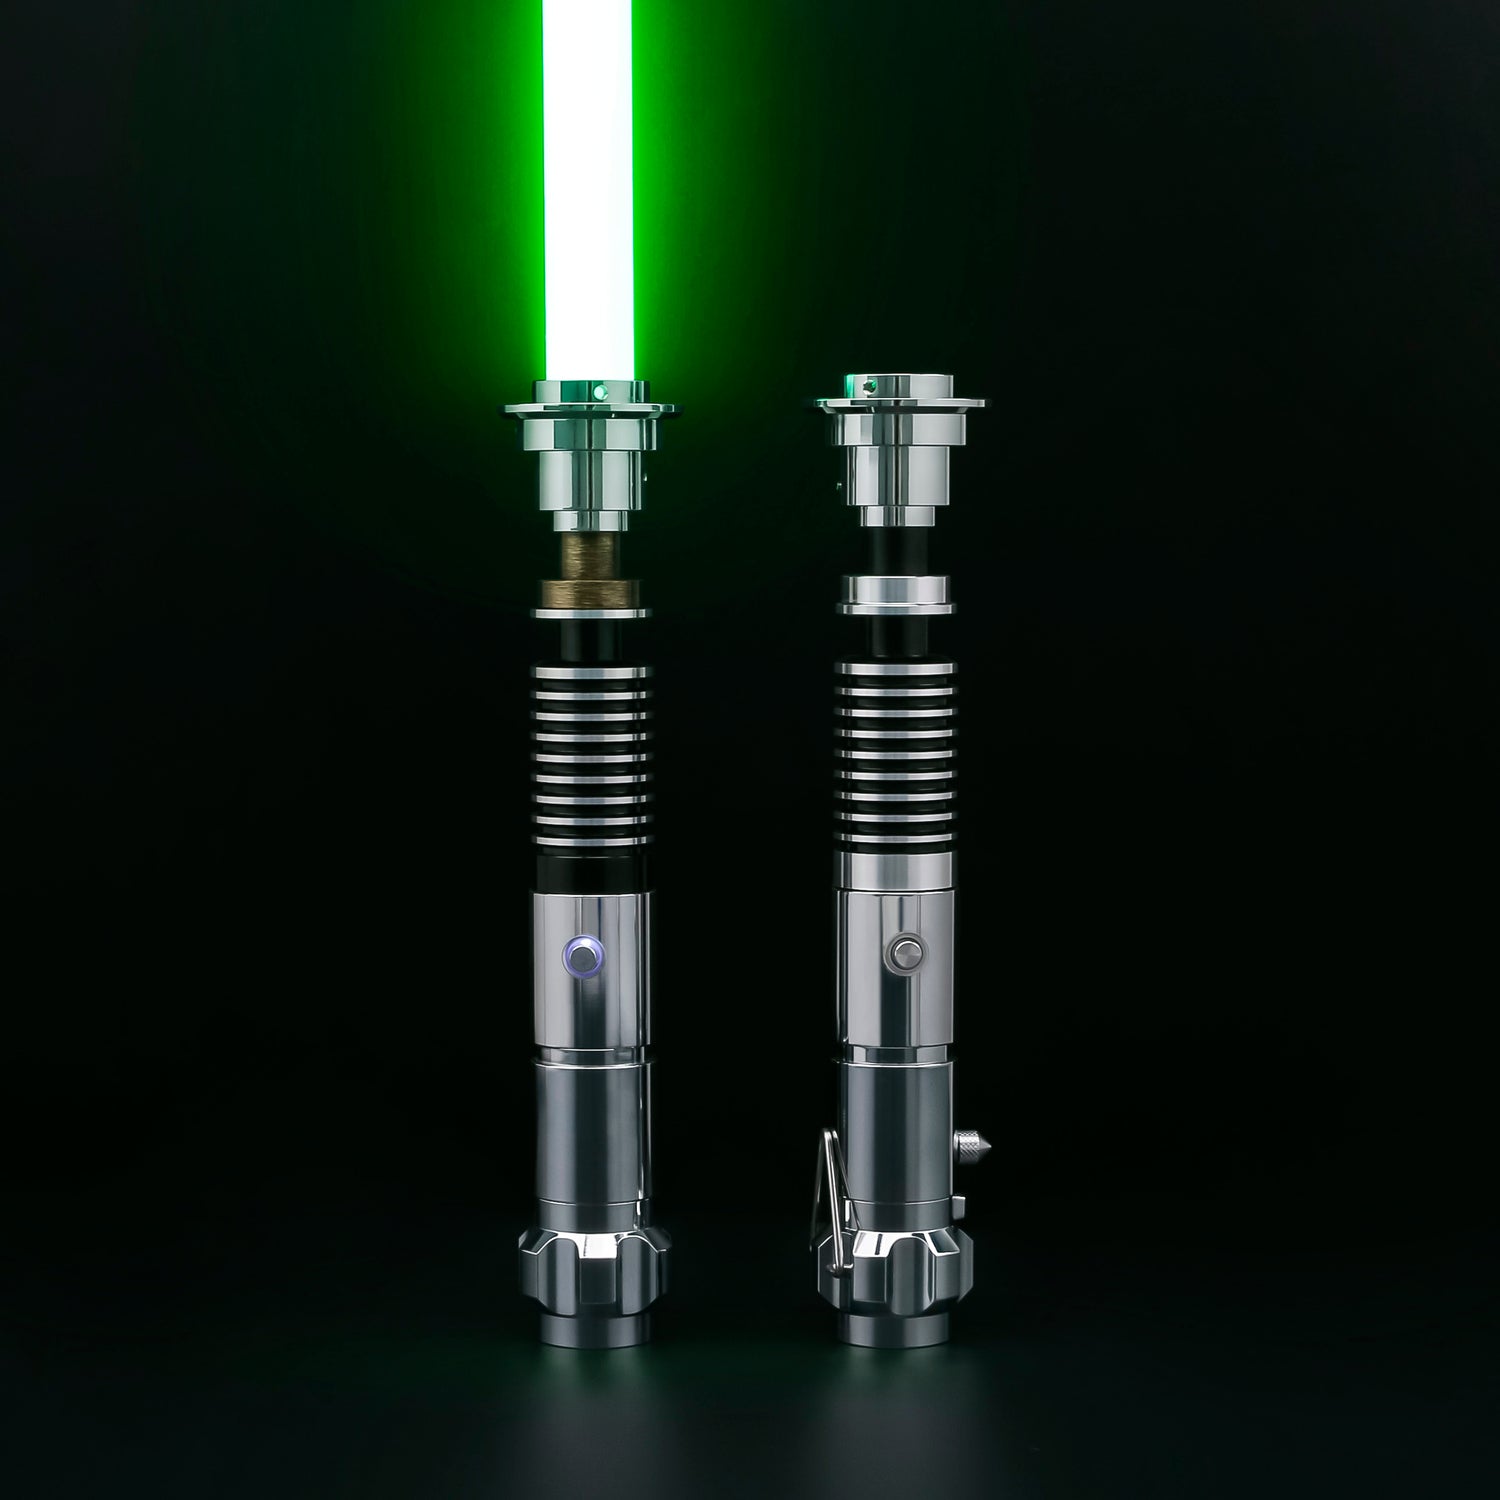
Instructions Manual
All of our lightsabers boast many features, such as smooth swing, flash on clash, 12 different blade colors, and all sorts of visual and sound effects. All of these features can be controlled with one button.
The specific instructions vary based on your lightsaber core: RGB Baselit, Neopixel SN V4, or Proffie 2.2 Neopixel. The core is the internal electronic component of a lightsaber. It includes a small processor, audio amplifier, speaker, motion sensor and much more. You can learn more about our cores at https://saberlight.com.au/pages/core-difference
Click The Links Below To Find The Instructions Manual For The Core Type Of Your Saber
SN NEOPIXEL V4.0 LIGHTSABER TUTORIAL
SN NEOPIXEL V4.0 PRO LIGHTSABER TUTORIAL
PROFFIE V2.2 LIGHTSABER TUTORIAL
Instructions For All Lightsabers
The following instructions are for features which are essentially the same on all core types.
1. Charging Instructions
Most of our sabers do not come already charged. Simply use the USB charger provided to charge the saber’s battery before using. Our recommended charging time for a full charge is 2-4 hours. You will know when the saber is done charging when the light on the button is no longer glowing.
Some of our sabers have their charging ports on the outside of the hilt, while some have it on the inside. For those with ports on the inside, untwist the pommel (at the very end of the hilt) and bottom half portion of the hilt (some sabers may have both of these as one part), and then plug the charger into the port located internally. Also, for our Maul double-bladed saber, there are special charging instructions which can be found here.
2. Lightsaber Assembly
Our sabers come almost completely assembled. The only step required is attaching and securing the blade to the hilt. The process of doing so is essentially identical for all sabers. The number of screws and their position is different from model to model, however other than that the assembly is the same.
View the video demonstration below on how to attach the blade. Other sabers use essentially the same method.
https://www.youtube.com/watch?v=2dOLS1AV9zE
Simply use the tools and screws provided, as in the video, to attach the blade. Place and twist the small screws into place at the blade emitter portion of the hilt. Please make sure not to cross thread the screws as it can damage the threads in the emitter. Torque the screws gradually instead of fully torquing each screw right away.
Each order comes with a small tool bag that includes an instructions manual, allen key, and several screws. You only need to use the small screws to secure the blade in the hilt. The other screws are spares that you might need if you remove the core from the hilt.
3. Connecting Two Hilts
On many of our sabers, two hilts can be connected to create a double-bladed saber, or saberstaff. A hilt connector end piece is needed in order to do this, and several saber styles already come with one on the end of the hilt. It can also be purchased separately. Make sure your lightsaber model is compatible with the piece.


 Subscribe To Our Newsletter